If you are leaving your shoes in the bottom of your shoe closet, or often missing half of your shoe pair, it might be time to create a built-in shoe closet. Make any size you desire, and place it wherever you like in of your closet.
Step #1
Kids Cubby Storage
Think about the storage cubbies and Kindergarten classrooms that were accessible for children to place their things in. These storages are ideal for keeping shoes separately, and you could make them easily.
Step #2
Count the shoes you want to store in the shoe closet. You could make every rack hold two to six pairs of shoes, and create as many racks as you want. If you own more shoes, you could make another shoe rack and put it to your closet with the other shoes.
Step #3
Begin with the pairs of shoes that you like to store in every rack and multiply by nine inches, because every cubby should be nine inches wide. Add 3/4 inch for the end wood boards and for every partition board between shoes. For example, if you wish to put five pairs of shoes, multiply 9x5 is equals to 45 inches. You'd have 2 ends and 4 partitions, so multiply 3/4 by six is equals to 4.5 inches. Add the 2 totals together is 49 1/2 inches.
Step #4
Gather all the materials you need. For instance, you need 2 wooden boards 12 in wide and 49½ in long for the bottom and top of the rack. You'll also need six boards that are 12x6 inches for the partitions and sides. All of these wooden boards must be 3/4 inches thick.
Step #5
Bring your shoe rack together to form a rectangular shape that is 49½ x 10½ in and it'll contain five shoe cubbies. Place the pieces by putting 11/2 in wood screws down to the top wood board and up to the bottom wood board to attach the partitions and sides.
Step #6
Put the shoe rack on a piece of plywood, and draw it. Reduce the plywood that you want to make the back part of the shoe rack. Put this with 11/2 inch screws to the partitions and edges of the shoe rack. Paint the shoe rack if you want and let it dry.
Step #7
Put your shoe rack to your closet. You could just put it on the floor, if you want. On the other hand, you could place it to the wall by attaching through the plywood back to studs with 2 inches drywall screws. If you want more space for some more pairs of your shoes, make another shoe rack and put below or on top, placing it to the wall.
Christmas Sales Prepac Furniture Shoe Storage Cubby Entryway Bench 201
Dec 08, 2011 23:00:39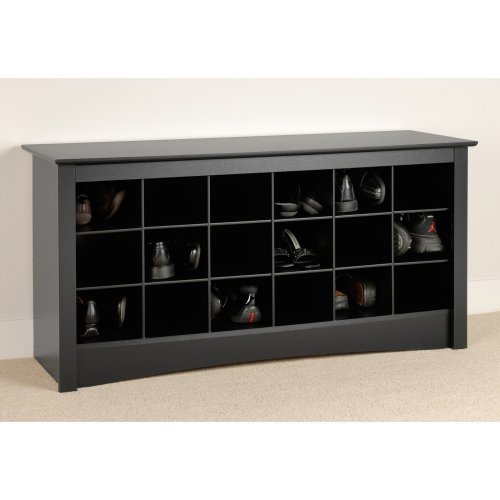
Click for larger image and other views

Christmas Sales Prepac Furniture Shoe Storage Cubby Entryway Bench Feature
- Color: Black
- Size: 24"H x 48"W x 16"D
- profiled top, side moldings, and arched kick plate
- Fits Men's size 13 shoes
- Dual purpose
Christmas Sales Prepac Furniture Shoe Storage Cubby Entryway Bench Overview
Finish :Black Doesnt it make sense to have your shoes stored in the same place as you put them on? This dual purpose product is a bench with shoe storage so everything is right where you need it. Its a great addition to a front entranceway, mudroom, or utility room. Each of the 18 individual cubbies measures 6w x 5h x 13d (large enough to hold a pair of size 13 mens shoes)SAVE NOW on Christmas Sales Offers below!
Available In Stock. |
| This Christmas Prepac Furniture Shoe Storage Cubby Entryway Bench ships for FREE with Super Saver Shipping. |
Price : Click to Check Update Prices Please. |
